How to Set Up DMX Control for Zum Cob Par Lights
When it comes to professional stage lighting, par 64 LED stage lights have become a standard choice for DJs, event planners, and stage technicians due to their vibrant color output and reliable performance. Among them, Zum Cob Par lights stand out for their versatility, energy efficiency, and seamless integration with DMX control systems. Whether you are preparing a live concert, corporate event, or DJ performance, setting up DMX control for Zum Cob Par lights allows for precise color adjustments, dynamic lighting effects, and synchronized shows across multiple fixtures.
This guide will take you through everything you need to know about DMX control, from understanding DMX512 protocols, wiring, and addressing to programming scenes, troubleshooting issues, and ensuring safe operations. By following these instructions, even beginners can confidently set up Zum Cob Par lights for professional-grade performances.
Understanding DMX for Stage Lighting
DMX512 Protocol Overview
DMX512, often called simply “DMX,” is the industry standard for controlling stage lighting and effects. Developed in the 1980s, DMX512 enables digital communication between a controller and lighting fixtures using a single data cable. Each fixture is assigned a unique DMX address within a “universe” of up to 512 channels, allowing precise control over dimming, color, and effects.
Key Components in a DMX System:
-
DMX Controller – Sends digital signals to lights. Can be hardware-based (physical console) or software-based (computer with USB-DMX interface).
-
DMX Cable – Typically 3-pin or 5-pin XLR. Must be DMX-rated to ensure signal integrity.
-
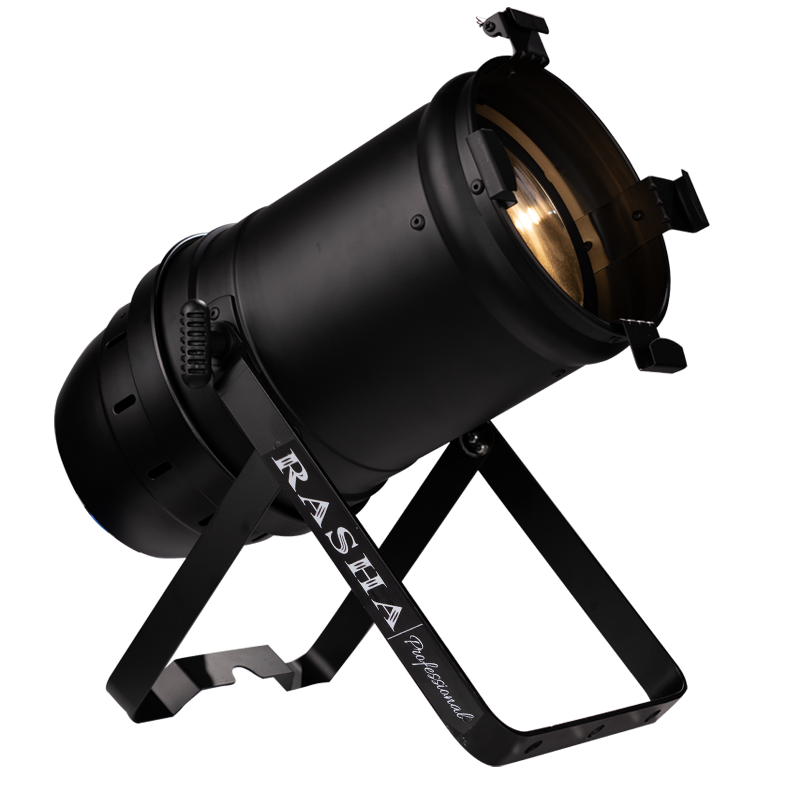
Fixtures – In this case, Zum Cob Par lights. Each fixture interprets the DMX signal based on its channel assignment.
-
Terminator – A 120-ohm resistor placed at the last fixture to prevent signal reflection and data errors.
DMX Signal Flow Diagram Description:
-
Controller → DMX Cable → First Fixture (DMX In) → DMX Out → Next Fixture → … → Last Fixture → Terminator
-
Diagram shows multiple Zum Cob Par lights daisy-chained in a line, with arrows indicating signal direction.
Why DMX is Essential for Zum Cob Par Lights
DMX allows multiple lights to be controlled individually or collectively. For example, you can program synchronized color fades across 10–20 lights for a DJ show or trigger strobe effects in sync with music. Without DMX, you would need manual adjustments at each fixture.
Fact/Statistic:
-
Over 95% of professional stage setups worldwide rely on DMX512 for lighting control, demonstrating its reliability and versatility.
Components Needed for Zum Cob Par DMX Setup
To successfully set up Zum Cob Par lights, you need the following components:
| Equipment | Function | Recommended Brands/Models |
|---|---|---|
| Zum Cob Par Light | Fixture with RGB/RGBW output | Zum Cob 12x12W, 18x12W models |
| DMX Controller | Sends DMX signals | Chauvet Obey, ADJ MyDMX, ETC Nomad |
| XLR DMX Cable | Connects controller to lights | DMX-rated 3-pin or 5-pin cables |
| DMX Terminator | Prevents signal reflection | 120-ohm inline terminator |
| DMX Splitter (optional) | Distributes DMX signal for large setups | ADJ DMX Splitter, Chauvet DMX Hub |
Writer Instructions for This Section:
-
Include a brief description of each component and its importance.
-
Mention optional equipment for larger setups.
-
Maintain a technical yet beginner-friendly tone.
Step-by-Step DMX Setup for Zum Cob Par Lights
Setting up DMX control involves assigning addresses, connecting cables, daisy-chaining fixtures, and configuring modes. Follow these steps carefully.
Step 1: Assign DMX Addresses
-
Each Zum Cob Par light needs a unique DMX address.
-
Access the menu on the fixture using the menu buttons.
-
Set the first light to address 001, the second to 004 (if using 4-channel mode), and continue sequentially.
-
Ensure there are no overlapping addresses, as this can cause erratic behavior.
Example:
-
Using RGB mode (3 channels per light), 5 lights will occupy channels 1–15.
Step 2: Connect DMX Cables
-
Use DMX-rated 3-pin or 5-pin XLR cables.
-
Connect DMX Out from the controller to DMX In on the first fixture.
-
Continue daisy-chaining from DMX Out → DMX In for each subsequent light.
Diagram Description:
-
Arrowed chain from controller to 1st light, then 2nd, 3rd, etc., with a terminator at the last fixture.
Step 3: Daisy-Chaining Multiple Fixtures
-
Ensure cables are fully inserted and secure.
-
Avoid running DMX cables alongside high-voltage power cables to prevent interference.
Step 4: Configure Modes
-
Zum Cob Par lights offer multiple modes:
-
RGB (3 channels) – Basic color mixing
-
RGBW (4 channels) – Adds white for brighter colors
-
Dimmer only (1 channel) – Simple on/off and dimming
-
Advanced (7–10 channels) – Full control over color, strobe, fade speed
-
Table: DMX Channel Allocation Example
| Mode | Channel 1 | Channel 2 | Channel 3 | Channel 4 | Channel 5–10 |
|---|---|---|---|---|---|
| RGB | Red | Green | Blue | – | – |
| RGBW | Red | Green | Blue | White | – |
| Advanced | Red | Green | Blue | White | Strobe, Dimmer, Speed, Mode |
Step 5: Test the Connection
-
Turn on controller and fixtures.
-
Adjust colors and intensity to verify each fixture responds correctly.
-
Troubleshoot any non-responsive lights using section 6 tips below.
Writer Instructions for Step-by-Step Section:
-
Include numbered steps and sub-steps with examples.
-
Reference diagrams for daisy-chaining and cable flow.
-
Use primary keywords naturally, e.g., “DMX control Zum Cob Par lights.”
Programming DMX Scenes and Effects
Once lights are connected, programming dynamic scenes is the next step.
Creating Basic Scenes
-
Fade Effect: Gradually change colors over time using controller fade function.
-
Static Scene: Set all lights to a single color for a mood lighting effect.
-
Strobe Effect: Use controller’s strobe channels to synchronize flashing with music.
Advanced Programming
-
Sequence Scenes: Program multiple scenes in a timeline for an event.
-
Music Synchronization: Connect DMX controller to audio input or software like Lightjams to sync effects with music.
Writer Instructions:
-
Include practical examples for small (3–5 lights) and medium (10–20 lights) setups.
-
Explain DMX channels used for each effect.
-
Maintain technical clarity without overwhelming beginners.
Troubleshooting Common DMX Issues
Flickering Lights
-
Often caused by loose connections, missing terminator, or overlapping addresses.
-
Solution: Secure all cables, attach terminator, verify unique addresses.
No Signal
-
Check controller output, verify cables, and ensure fixtures are powered.
Incorrect Colors
-
Verify DMX mode (RGB/RGBW/Advanced) matches controller settings.
Channel Conflicts
-
Avoid assigning overlapping channels; use sequential addressing.
Writer Instructions:
-
Include tips for real-world setups.
-
Use examples referencing DMX modes and channel numbers.
Safety Tips & Best Practices
-
Always turn off fixtures before connecting or disconnecting cables.
-
Avoid overloading circuits; check power requirements.
-
Keep DMX cables away from high-voltage cables.
-
Use terminators on long daisy chains.
-
Label DMX addresses and cables for larger setups.
Writer Instructions: Bullet points for clarity; emphasize professional safety standards.
FAQs
Q1: Can I connect more than 20 Zum Cob Par lights on one DMX line?
A: Yes, but ensure total DMX channels don’t exceed 512. Use splitters for larger setups.
Q2: Do Zum Cob Par lights require a DMX terminator?
A: Yes, prevents signal reflection and flickering. Attach a 120-ohm terminator at the last fixture.
Q3: How do I reset DMX addresses on Zum Cob Par lights?
A: Power off, then power on while holding the menu button. Default address is usually 001.
Q4: Can I use wireless DMX?
A: Yes, ensure DMX512 compatibility. Avoid interference and maintain line-of-sight.
Q5: What DMX modes are available?
A: RGB, RGBW, dimmer, and advanced 7–10 channel modes.
Q6: Why are lights flickering?
A: Loose cables, missing terminator, or overlapping addresses. Secure and check each fixture.
Q7: Can I use 3-pin XLR instead of 5-pin?
A: Yes, if all devices support it. Always use DMX-rated cables.
Q8: How do I daisy-chain multiple fixtures?
A: Controller → DMX In 1st light → DMX Out → Next fixture … terminate last fixture.
Q9: Can I control lights via software?
A: Yes, using Lightjams, ShowXpress, or Freestyler with USB-DMX interfaces.
Q10: Maximum DMX cable length?
A: Up to 300 meters (984 feet) with DMX-rated cables; use repeaters for longer runs.
Q11: How to assign DMX channels quickly?
A: Manual assignment or controller auto-addressing; avoid overlapping channels.
Q12: Mixing brands on one DMX line safe?
A: Yes, if all follow DMX512 protocol; check channel mapping and splitters.
Conclusion
Setting up DMX control for Zum Cob Par lights transforms your stage lighting into a professional, dynamic display. By understanding DMX512, properly addressing channels, daisy-chaining fixtures, programming effects, and following safety tips, you can confidently manage small to medium stage setups.
Always check fixture manuals for mode specifications, use high-quality DMX cables, and plan your channel layout ahead of time. With these steps, your par 64 LED stage lights and Zum Cob Par lights will deliver flawless, synchronized performances for any event or DJ set.